Contents:
- Overview of expanding ZFS storage pools
- How to expand a ZFS storage pool in FreeNAS
- Conclusion
- References
ZFS is a fantastic storage manager and file system, but one thing people have always complained about is the ability to expand storage pools. The OpenZFS team loves to tease easy expansions but, even now 3 years later, you still cannot live expand a FreeNAS ZFS Storage Pool. To get around that limitation you can replace existing drives in your ZFS pool with larger drives. This is the first time I have expanded my ZFS pool and since I am no longer running mdadm I can't follow my own advice.
It might sounds scary to replace drives in your pool, but as long as you are running a vdev configured with MIRROR, RAIDZ, RAIDZ2, or RAIDZ3 you can do so with a low risk of data loss. Basically you replace every drive sequentially with a larger drive and then ZFS will automatically make the pool larger when every drive is replaced. Each time a disk is replaced ZFS has to rebuild your data on the new disk so depending on drive sizes, amount of data, system config, and how busy your server is, it can take anywhere from minutes, to hours, or even days.
My pool is configured with RAIDZ2 and is comprised of a quantity eight of 3TB hard drives. Over the holidays there was a sale for 12TB drives so I may have splurged and purchased a few. 360 video and being a youtube star take a lot of storage space. The system is a custom built box running AMD Ryzen 7 2700 (8 core), 32GB of RAM, 10GbE Intel SFP+ NIC, LSI SAS 9211-8i HBA (passthru mode), and running FreeNAS 11.2.
The steps outlined below can cause data loss. Do not run them on a production system without fully understanding the process and testing in a development environment. Verify your backups before you need to use them.
These instructions are not meant to be exhaustive and may not be appropriate for your environment. Always check with your hardware and software vendors for the appropriate steps to manage your infrastructure.
Formatting:
Instructions and information are detailed in black font with no decoration.
Code and shell text are in black font, gray background, and a dashed border.
Input is green.
Literal keys are enclosed in brackets such as [enter], [shift], and [ctrl+c].
Input is green.
Literal keys are enclosed in brackets such as [enter], [shift], and [ctrl+c].
Warnings are in red font.
How to expand a ZFS storage pool in FreeNAS
- Login to your FreeNAS server and verify your storage pool is healthy. Go to Storage -> Pools and verify it states "Healthy".

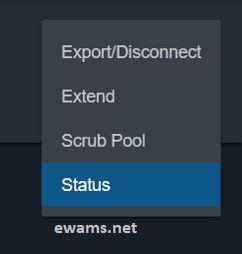
- From the Pools page, select the Gear Icon in the table and select "Status"
- Again, verify your pool and disks are all online and appear as healthy.
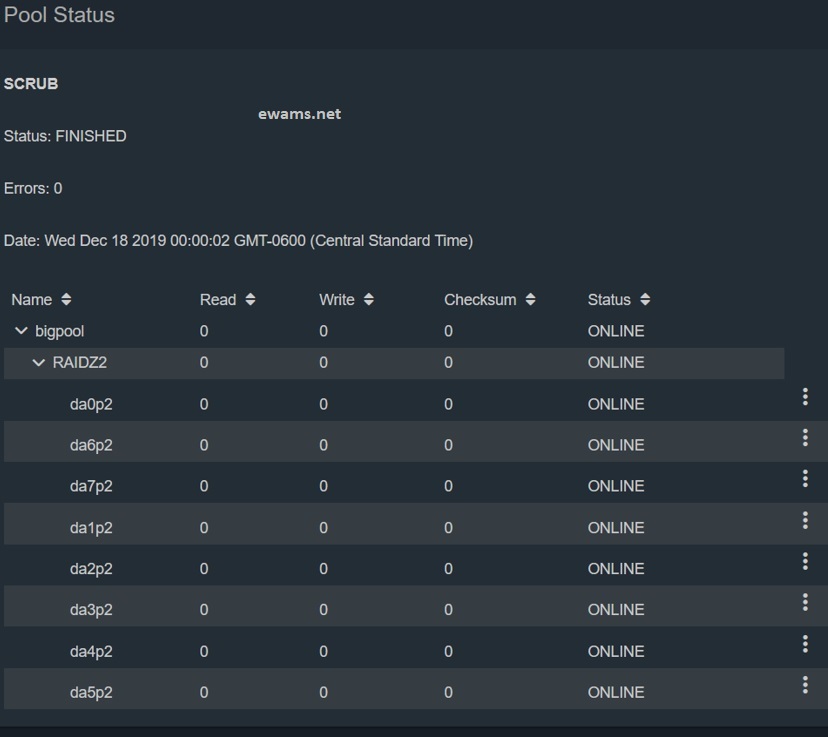
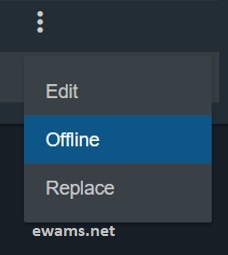
If you have any disks which are not healthy, appear offline, or have checksum errors it may be a good idea to resolve those issues first. Though if you have a single bad disk you can probably replace it with your new one, assuming it is the same size or larger ;) - Only do this step if your pool is healthy beforehand.Hit the triple dot menu on the right side next to the first disk you want to replace and select "Offline".
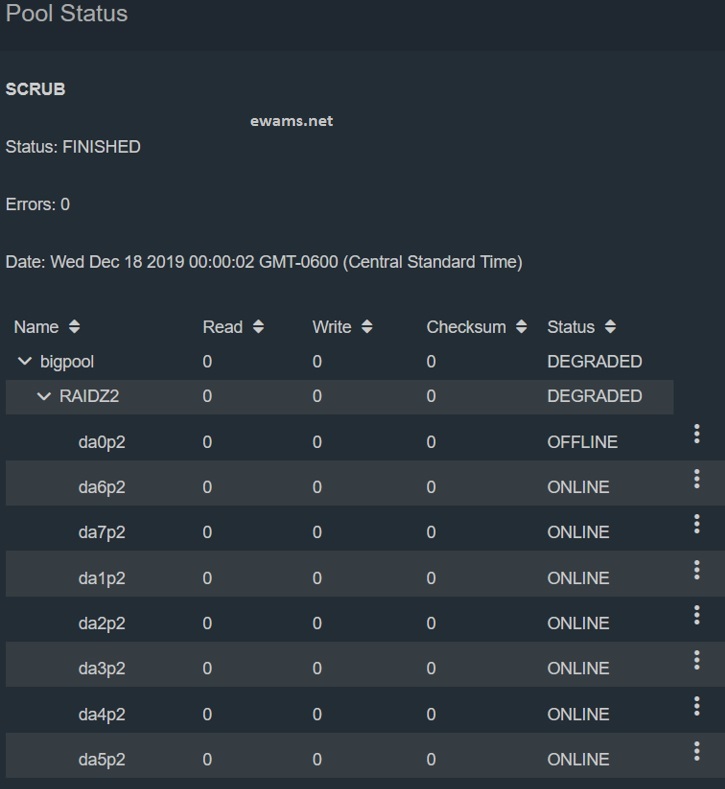
- Your pool will now enter into a degraded state because we have forced a disk offline. This is intentional!
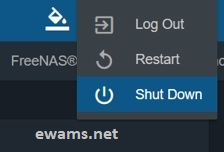
- Gracefully power off your FreeNAS server by going to the Gear Icon on the top right and selecting "Power Off".
- Once the server is powered off, physically replace the disk you marked as offline in the previous step with your new storage device. Make sure the new drive is either the same size or larger than the one currently installed.
<Image removed for your safety/> - Power your system back on.
- Log in and navigate back to Storage -> Pools then select Gear Icon -> Status.
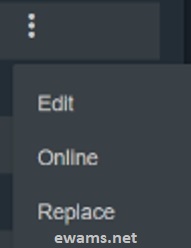
- Select the triple dots next to the disk you just physically replaced and select "Replace".
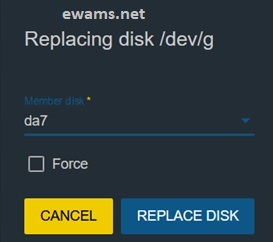
- A confirmation screen will appear, verify the disk you want to replace is the one selected and hit the "Replace Disk" button.
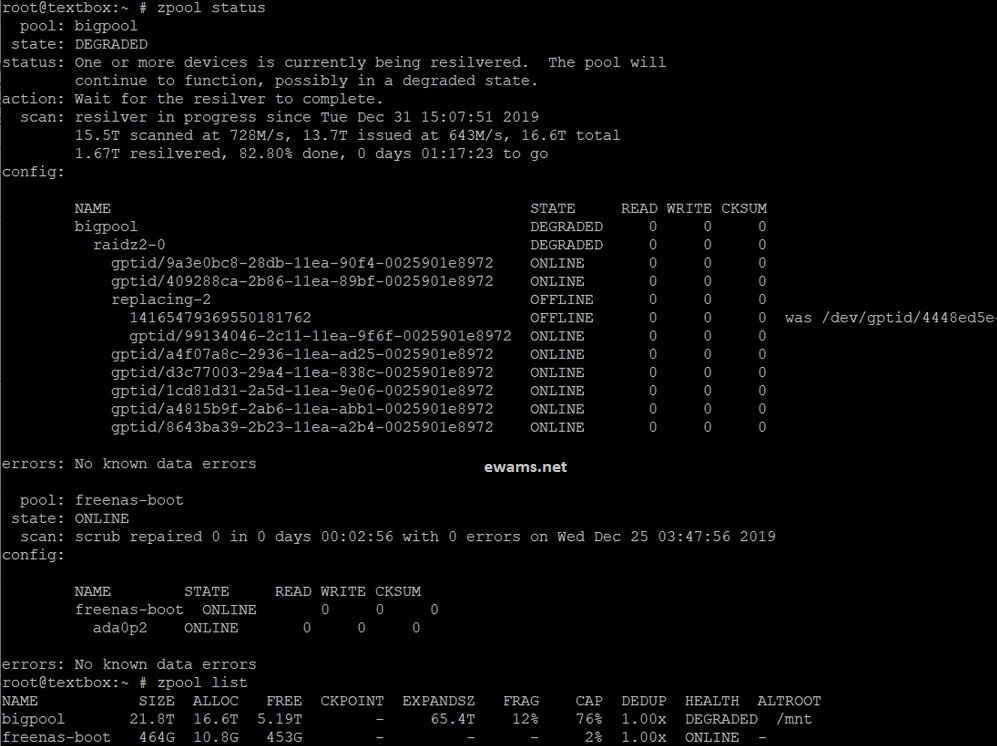
- It will automatically take you back to the status screen and should show the pool is "resilvering" and the specific disk is "replacing".
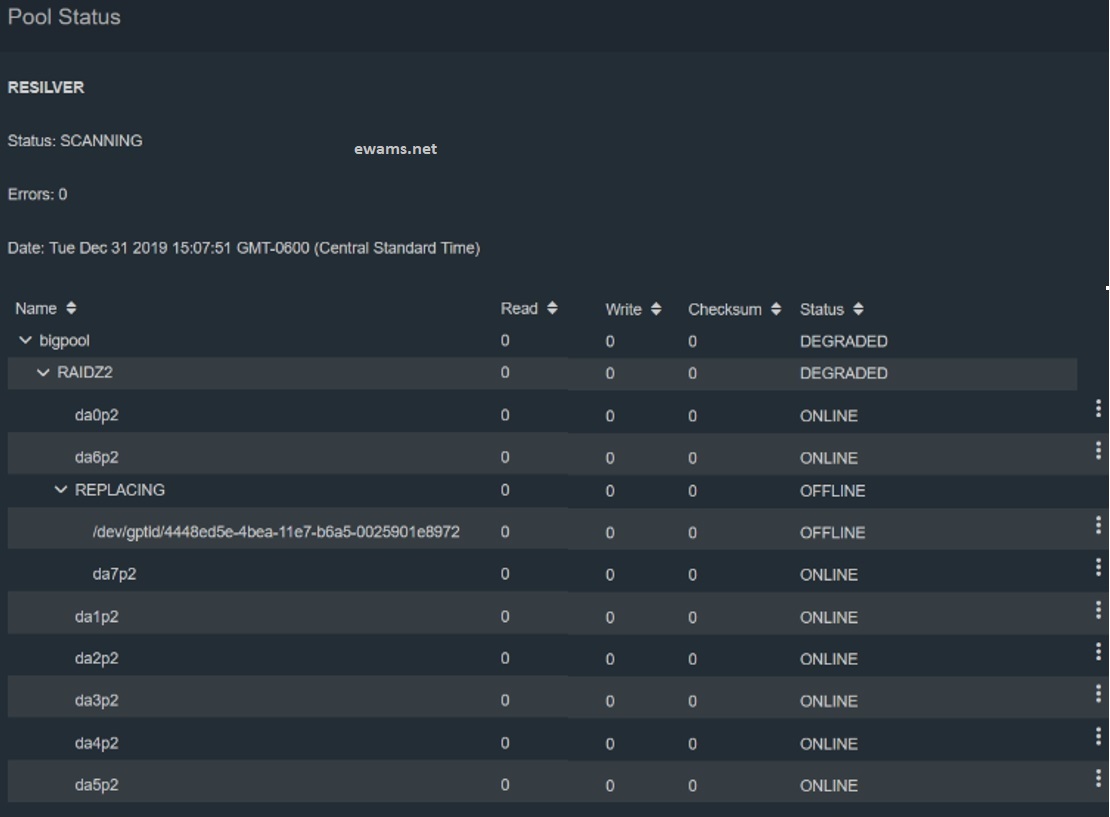
- You can also SSH to the host and run "zpool status" and should see similar details except it will also give you an estimated time to completion.
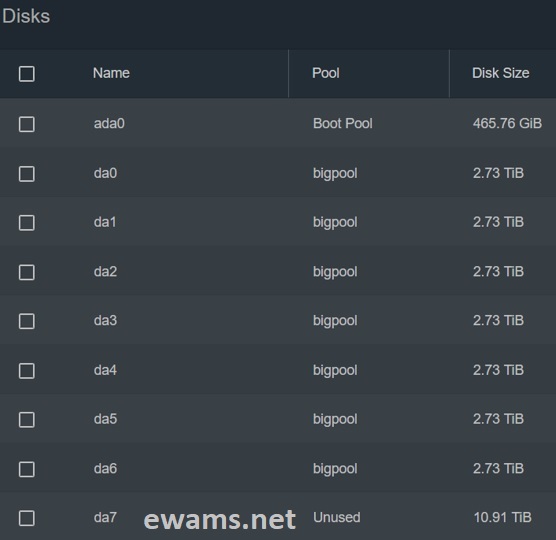
- Once the resilver is complete for the pool you should see the pool appear as healthy as seen in step 3. If you go to Storage -> Disks you should see your new disk in the list.
- Repeat steps 3-14 for all storage devices in your pool.
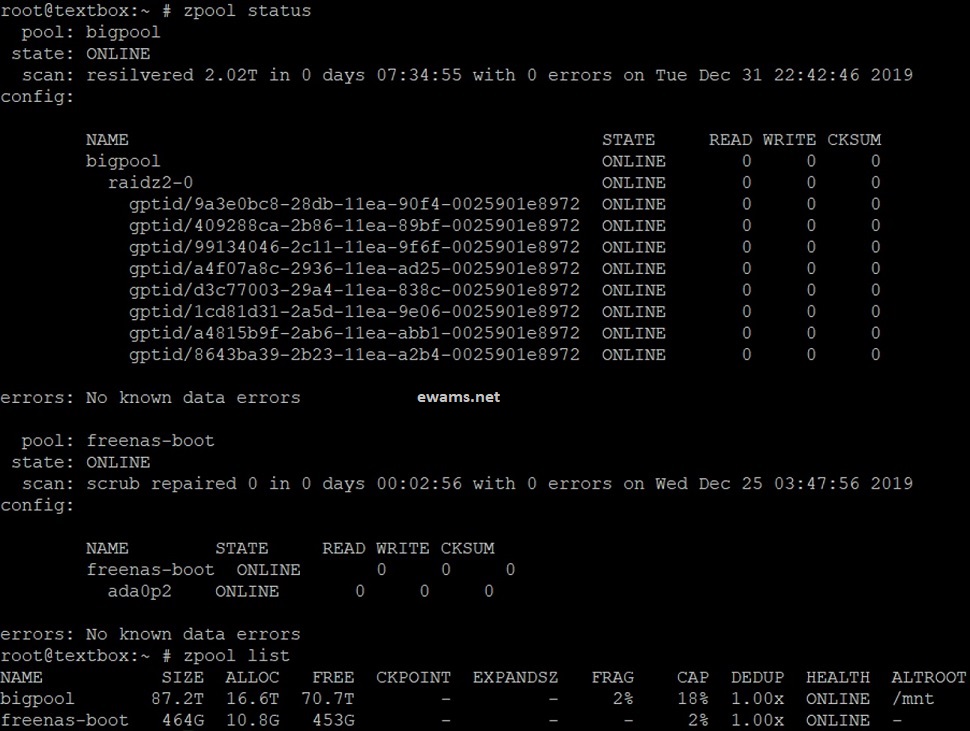
- After your last disk is added and the pool has been resilvered you should see a nice new message on the Pools status page or on ssh that your pool is larger than before.

Conclusion
My ZFS pool in FreeNAS increased in size automatically from ~15TB to ~65TB following the steps above. Make sure to do a single disk at a time and your pool is healthy before moving on to each step. The other key part is you can only expand your pool if you use larger drives and all storage devices have been replaced with those larger drives. FreeNAS will then automatically allocate the new space and make it available to your pool.
*disclaimer* This document and presentation is my own and does not represent anything from any other entity. I will not be held liable for anything bad that comes of it.